Calligraphy, the art of beautiful handwriting, has a rich history spanning cultures and centuries. Today, it’s not just a nostalgic nod to a pre-digital era but a creative outlet, a form of relaxation, and even a career path. Here are six steps to help you start your journey into this enchanting world of ink and paper.
Step 1: Understanding the Basics
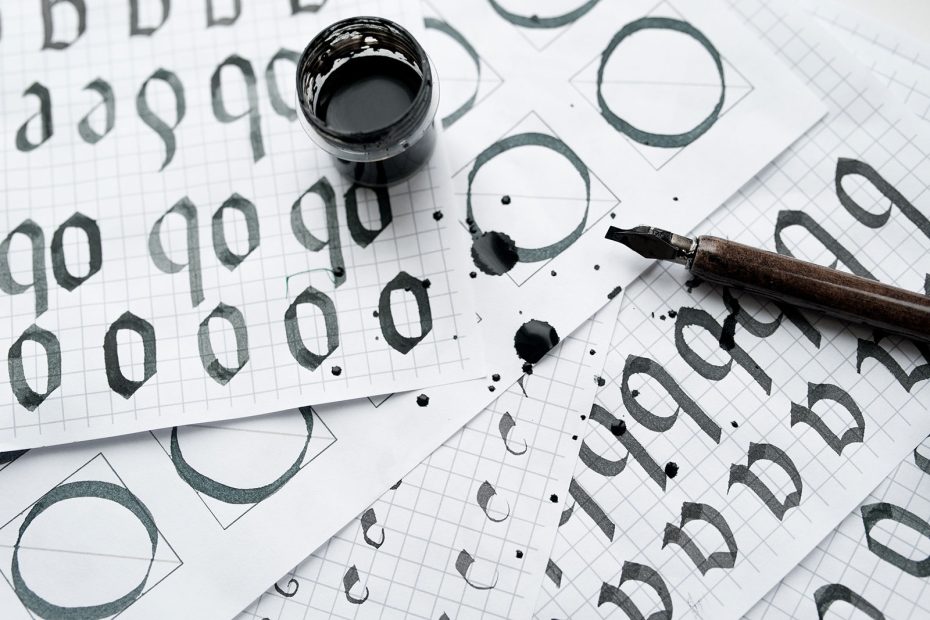
Before you begin, you’ll need three essential tools: a pen, ink, and paper. The pen is your brush, guiding your art and expressing your style. For beginners, a dip pen with a medium-flex nib is a good start. The ink plays a significant role, too. Start with basic black ink, renowned for its richness and smooth flow. As for paper, opt for smooth, heavy paper to prevent ink bleeding. Brands like Rhodia or Strathmore have excellent options for beginners.
What You Need to Get Started
You only need four things to get started with calligraphy; a nib holder, a nib, ink and paper. In total it shouldn’t cost much more than 30 to 40 dollars. There are not a lot of hobbies that are that cheap to get started with while looking elegant and expensive. In many other hobbies you’re also forced to keep upgrading to much more expensive gear as you go pro or get better. With calligraphy, the tools below are the same ones I still use in my day to day practice.
Nib Holder Pen

Calligraphy Sumi Ink

Dip Pen Nib

Paper Suited for Calligraphy

What You Don’t Need
Don’t start off by buying the beginner kits you find around, unless they are of a quality brand. Many are often of lower quality and contain many nibs you don’t need and can create confusion. Buy nibs separately and have a purpose for each so you don’t dilute your collection too much.

Step 2: Learning the Basic Strokes
Calligraphy is built on a handful of basic strokes. The key strokes include the upstroke (light and thin), downstroke (heavy and thick), overturn, underturn, compound curve, oval, and the dot. Mastering these strokes is the first significant step in your calligraphy journey. Practice each stroke repeatedly, filling up pages, until the movements feel natural.
Step 3: Mastering the Alphabet
Once you’ve got the basic strokes down, you’re ready to move onto letters. Each letter is a combination of the basic strokes you’ve already practiced. Start with lowercase letters, as they are used most frequently, and then progress to uppercase. Remember, the key is consistency in your shapes and slants. With practice, you’ll start to develop a rhythm and flow.
Step 4: Connecting Letters and Creating Words
The beauty of calligraphy lies in how letters connect and flow to create words. This step requires patience and practice. Start by practicing common letter combinations, paying attention to spacing and connection points. Then, move onto full words. Don’t rush this process – even experienced calligraphers take their time to perfect this step.
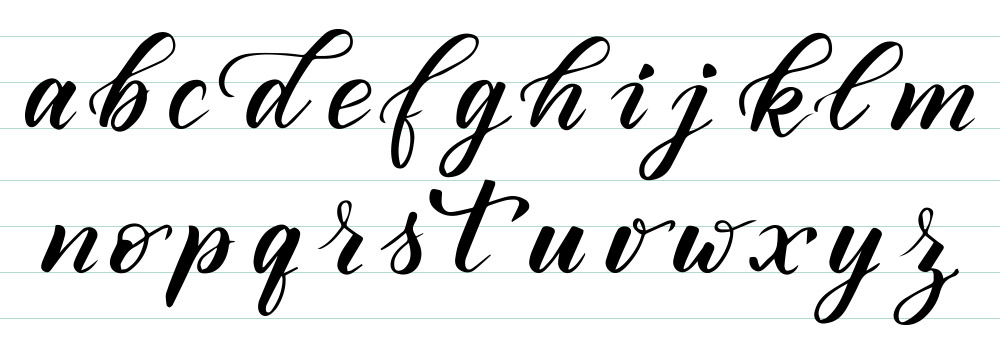
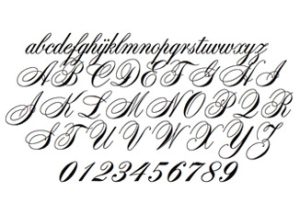
Step 5: Exploring Different Styles
Now that you’re comfortable creating words, you can start exploring different calligraphy styles. There’s traditional copperplate with its elegant, formal script, or modern calligraphy, which allows more flexibility and creativity. Then, there’s brush calligraphy, with its unique set of tools and techniques. Try them out and see which resonates with you the most.
Examples of calligraphy styles
Here are some examples of some common popular calligraphy styles. As you can see, calligraphy is not just about swirly handwriting and there are styles suitable for everything.


In my upcoming blog posts we’ll dive deeper into all the different styles of calligraphy. You’ll be able to find resources and guides to help you get started learning and practicing a style that suits you.
Step 6: Practicing Consistently and Seeking Feedback
Like any other skill, calligraphy requires consistent practice. Regularly dedicate time to practice and experiment. But don’t practice in isolation – share your work and seek feedback. Join calligraphy communities, both online and offline. You’ll find like-minded people who can provide advice, critique, and encouragement.
Let’s get started together!
Starting your calligraphy journey might seem daunting, but with the right steps, it becomes an enjoyable and rewarding process. Understanding the basics, learning the strokes and alphabet, forming words, exploring styles, and continuous practice are all key steps in this journey. Remember, every master was once a beginner. With patience, perseverance, and passion, you too can master the art of calligraphy.
Check out my courses where I cover everything you need to know.
Pingback: Mastering Calligraphy: Avoid Common Mistakes! - CalligraFit
Pingback: Mastering Brush Lettering: Tips and Techniques - CalligraFit
Pingback: How to Achieve Consistency in Letterforms - CalligraFit
Comments are closed.