In a world where traditional and digital art coexist, we are constantly trying to find innovative ways to bridge the gap between ink and pixels. Digitizing calligraphy has become an important bridge to our world, allowing artists to preserve the elegance of handcrafted lettering while exploring new creative possibilities. Imagine selling custom cards or adorning mugs, shirts, and various items with your calligraphy. In this guide, let’s dive into the techniques and tools for creating stunning digital lettering from your calligraphy work.
Mastering Traditional Calligraphy:
Before we delve into digital calligraphy, it’s crucial to lay a solid foundation in traditional calligraphy. This involves familiarizing yourself with different styles like Copperplate, Spencerian, or Gothic, and mastering fundamental strokes and unique letterforms. Each calligraphy style possesses distinct characteristics and lettering nuances, including variations in slant, design, and thickness. Developing proficiency in these essential skills serves as a sturdy base for your digital calligraphy journey, facilitating your excellence in this captivating art form.
Essential Tools for Digital Calligraphy:
To bring your calligraphy into the digital realm, you’ll need the right tools:
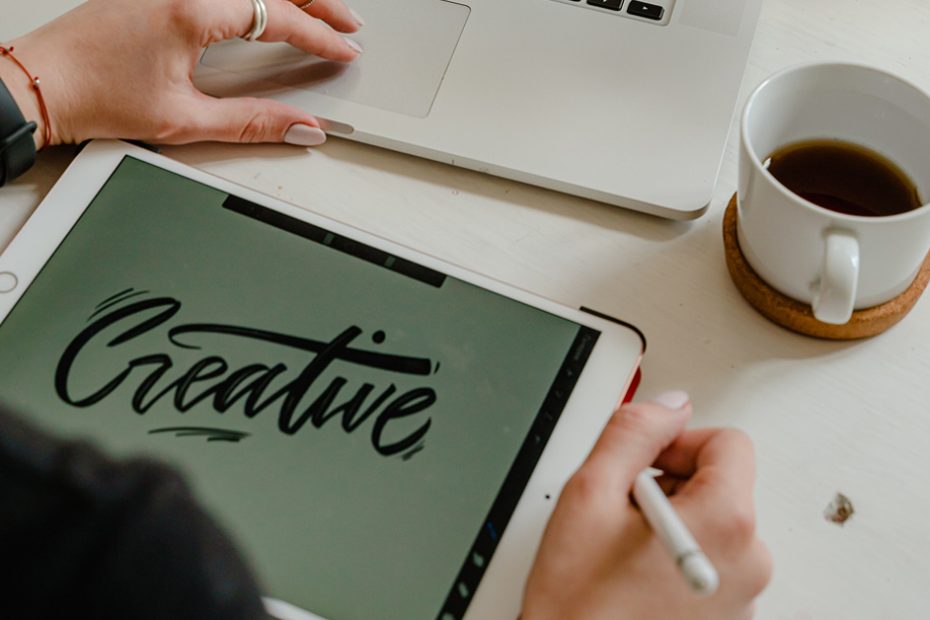
Digital Pen and Tablet:
For precise control and an authentic pen-and-paper feel, invest in a high-quality digital pen and tablet. I recommend the Wacom Intuos Pro Medium for efficient computer-based work. Alternatively, if you own an iPad, it’s an excellent choice, offering portability, intuitive touch controls, and a wide range of creative apps. I personally love the Procreate app for digital lettering on the go, but we’ll get into that more next.

Wacom Intuos Pro Medium
Graphics Software:
Essential for creating and editing digital calligraphy, software options like Adobe Illustrator, Photoshop, and CorelDRAW work well if you prefer working on a PC. However, if you opt for an iPad, I recommend using Procreate and/or Adobe Illustrator as well.
Scanning Your Calligraphy:
Start by crafting your calligraphy on paper using your preferred tools. Once you’ve completed your masterpiece, ensure you scan it at a high resolution, ideally 300 DPI or higher, to capture all the intricate details. If you don’t have access to a scanner, your smartphone can be a handy alternative. Consider using apps like CamScanner, which I personally rely on frequently, especially for touching up my card designs on the computer and creating mockups for various purposes. This step ensures that your digital calligraphy retains all its finesse and elegance when transitioning to the digital canvas. These are several scan results that were edited until the final result was a mockup.

Vectorize Your Work:
Now, import your scanned image into your graphics software and utilize vectorization tools to trace your calligraphy. This creates a scalable vector file that retains crisp lines and edges. When you’re tracing for the first time, pay close attention to mastering your brush techniques and becoming familiar with pen pressure. Take a few minutes to practice basic up and down strokes, experimenting with varying pen pressure. This practice helps you achieve the desired thick and thin lines, ensuring that your calligraphy flows naturally and avoids uniformity when creating words.
Another distinction between traditional and digital calligraphy is slant variation. In digital calligraphy, you achieve this by selecting a brush with the right angle that matches your desired lettering style. Alternatively, you can create your custom brush. While creating your brush might seem challenging initially, it eventually becomes a powerful tool for expressing your unique style efficiently.
Adjusting and Refining:
With your calligraphy digitized, you gain the flexibility for precise adjustments. You can meticulously refine letter shapes, fine-tune spacing, and even experiment boldly with an array of colors and textures. The power of digital platforms shines here, allowing you to effortlessly reconfigure shapes, introduce extra space, and erase unintended blemishes.
However, it’s essential to remember a critical tip: always keep each illustration on separate layers. This practice is especially crucial when layering colors or applying shadows. Trust me, avoiding this mistake is paramount; I made it numerous times during my early days in digital art.
Adding Flourishes and Effects:
Digital calligraphy opens up a world of possibilities for embellishments. Experiment with gradients, shadows, and other effects to enhance the visual appeal of your lettering or even some illustrations.
Exporting Your Digital Calligraphy:
Once you’re satisfied with your digital calligraphy, export it in various formats like PNG, JPEG, or SVG, depending on your intended use. High-resolution files are ideal for printing, while web-ready formats work well for online projects.
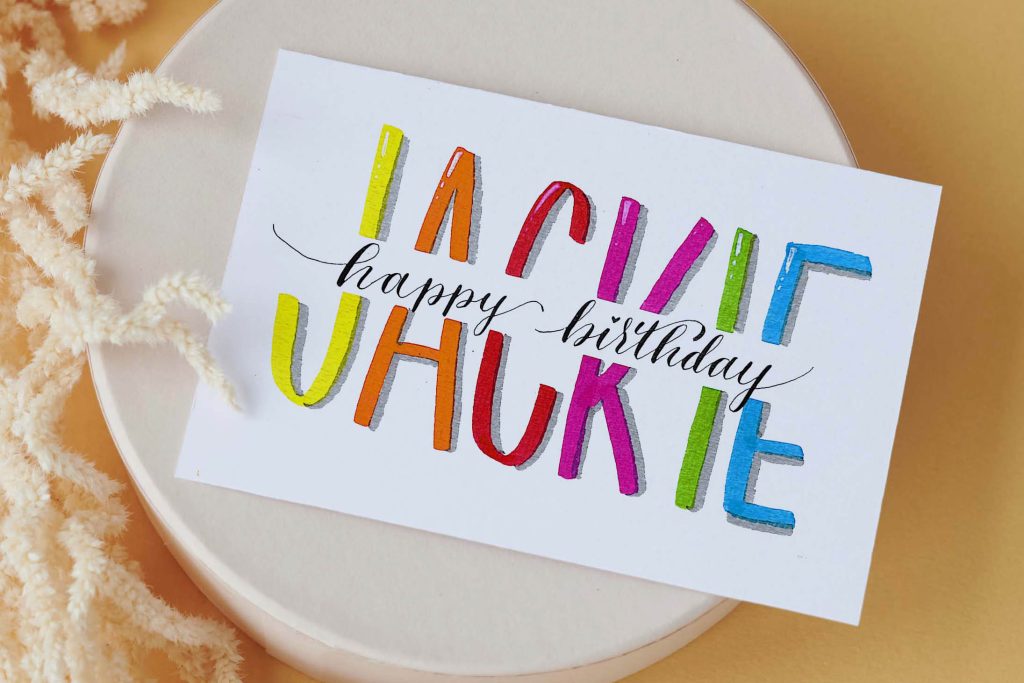
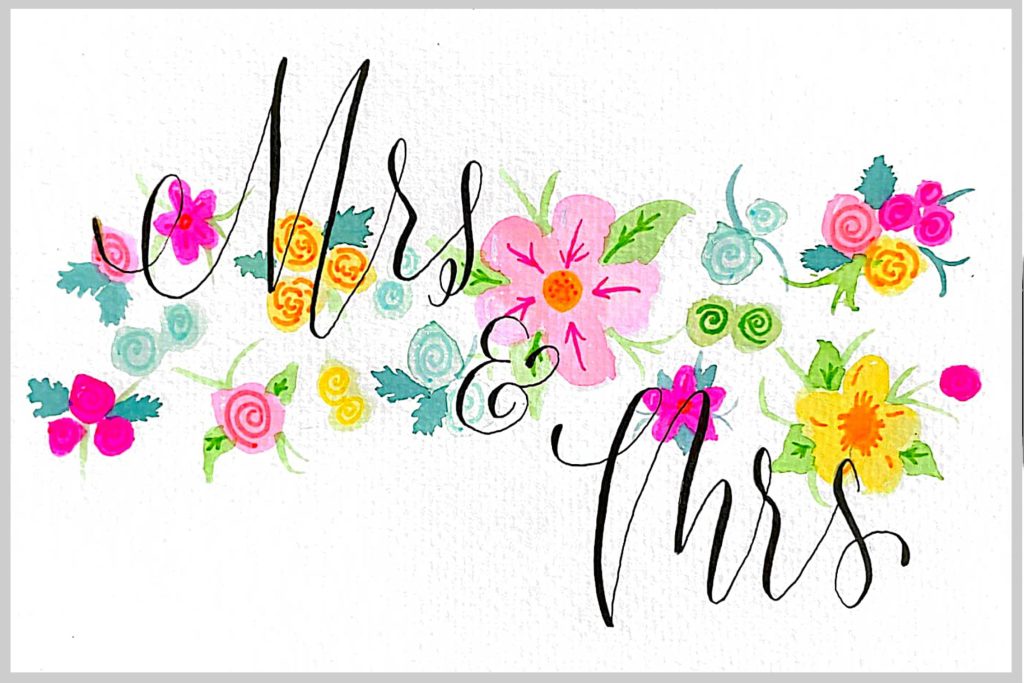
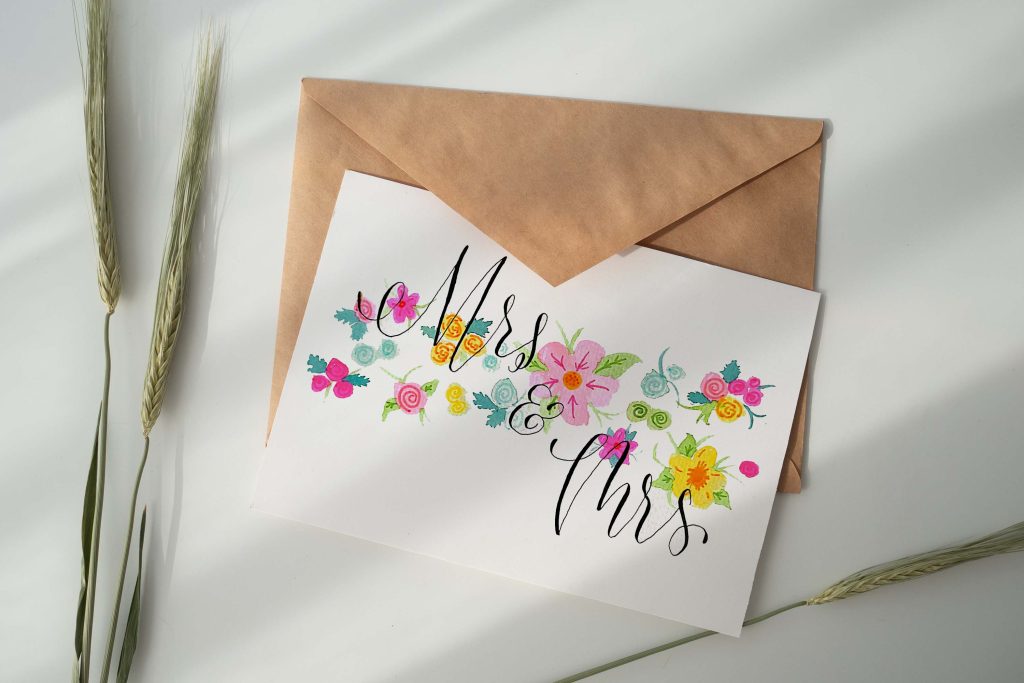
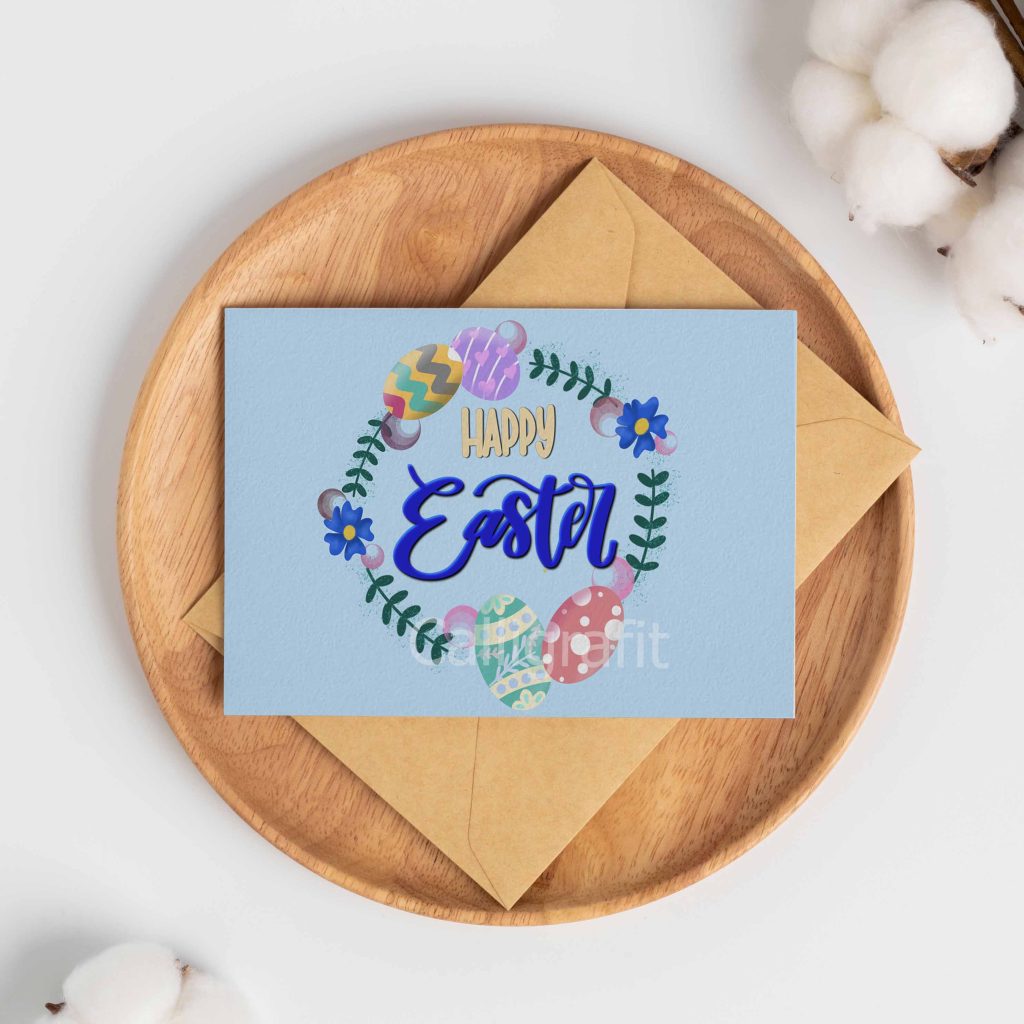
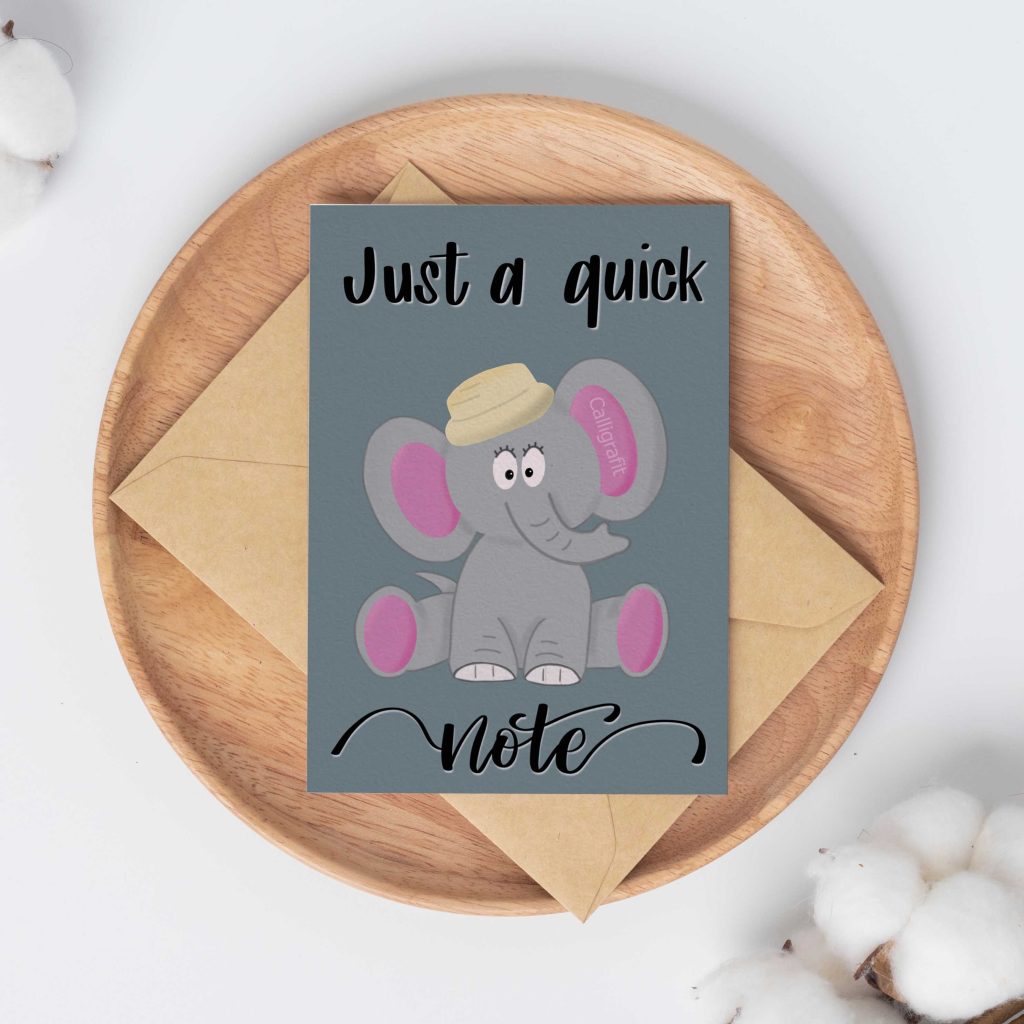
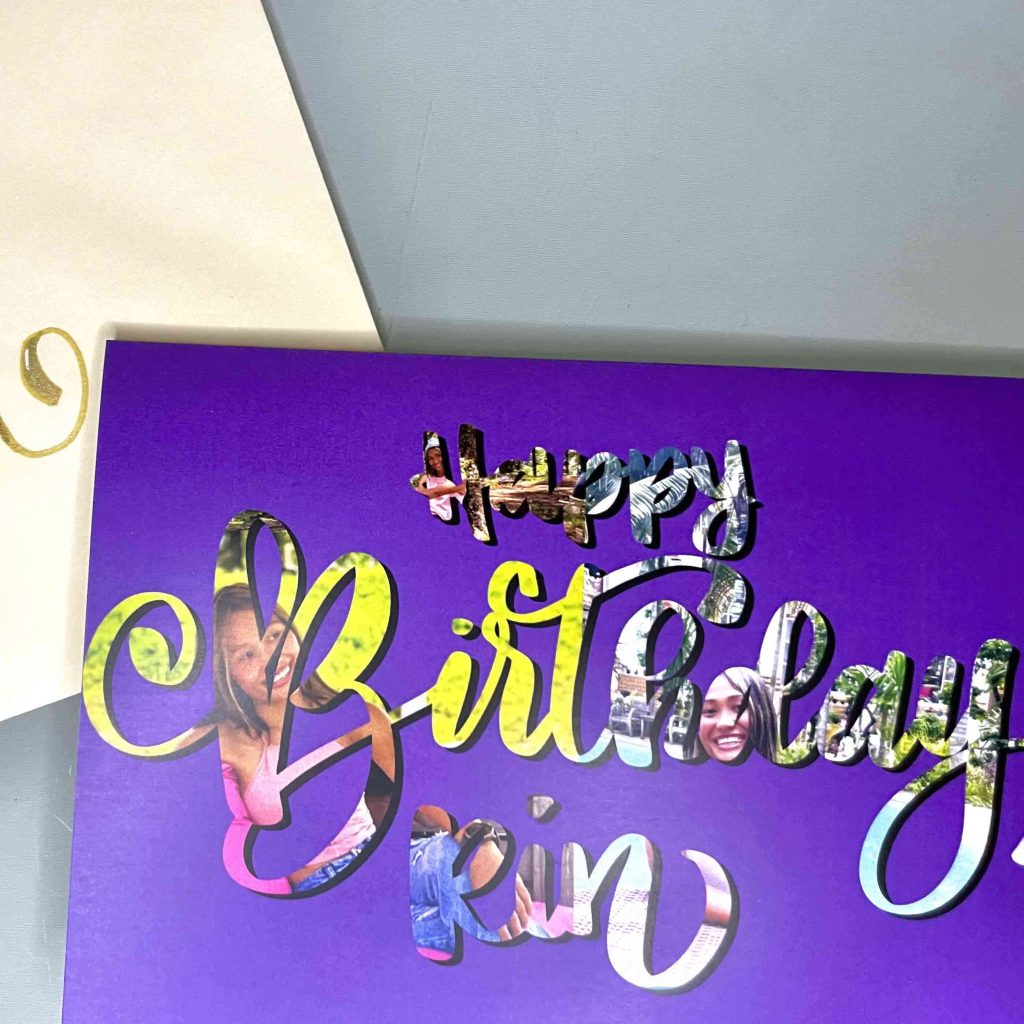
Integrating Digital Calligraphy:
Digital calligraphy can be used across a wide range of projects. These are some examples from me:


To Wrap Things Up…
Digitizing calligraphy is a journey that combines traditional craftsmanship with digital innovation. Whether you’re a calligraphy enthusiast or a professional artist, these techniques open up a world of possibilities for creating beautiful digital lettering that stands out in the digital age.
Start experimenting with digital calligraphy today, and watch your artistic horizons expand as you blend the timeless charm of calligraphy with the endless possibilities of the digital canvas.

About the Author
Monica Sath
Hi, I’m Monica. After a life-changing move from Virginia, USA to Chiang Mai, Thailand, I’ve embraced Modern Calligraphy and Hand Lettering or whatever else it’s being called now. Hopefully you learn something, get inspired or at least get entertained by something I share.