Whether you’re looking to enhance your artistic skills, create beautiful handmade cards, or simply enjoy the therapeutic nature of calligraphy, this step-by-step tutorial is here to help you master the basics of lettering. From understanding different styles to mastering basic strokes, we’ll cover everything you need to know to get started on your calligraphy journey. Let’s get started!
Chapter 1: Understanding Calligraphy
To begin your calligraphy journey, it’s important to grasp the concept of calligraphy and its diverse styles. This step will help you identify your preferred style, laying the foundation for exploration. Whether classic scripts or contemporary designs captivate you, calligraphy accommodates various interests. Despite the initial complexity of different styles, our guidance of different calligraphy styles will clarify the basics and distinctions to help you pick your own style.
Chapter 2: Essential Tools and Materials
Familiarizing yourself with the necessary tools and materials is crucial. This prevents impulsive purchases of tools you might not use that could hinder your journey. I’ve outlined 6 steps to initiate your calligraphy journey and included my best-pick tool recommendations for beginners.
Chapter 3: Basic Strokes and Techniques
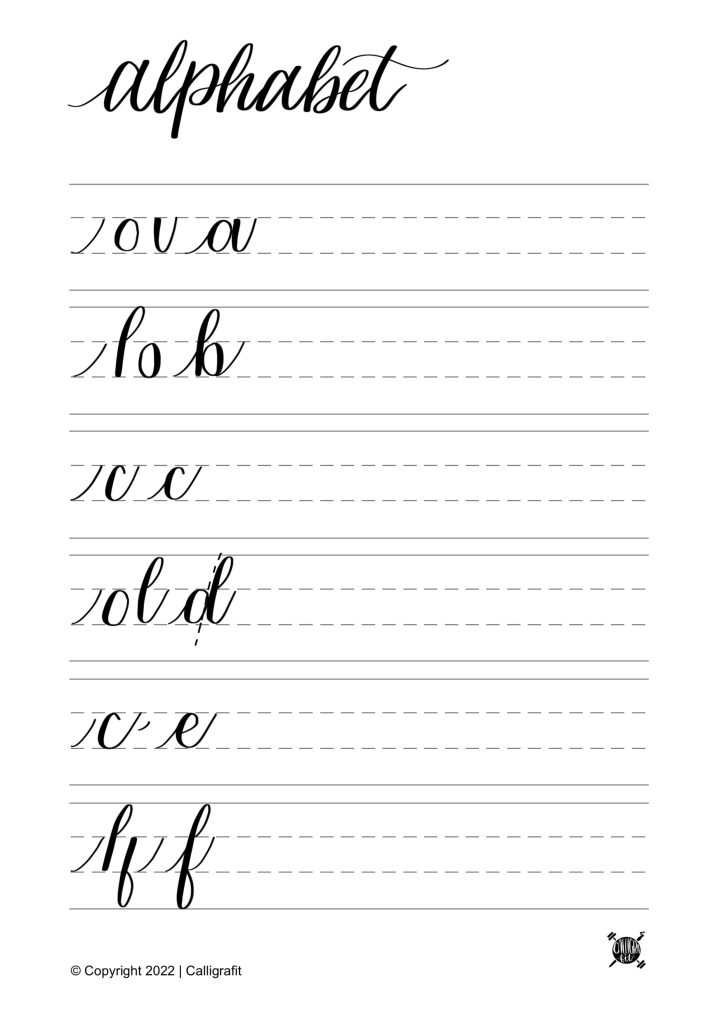
Mastering calligraphy begins with understanding basic strokes and techniques. We’ll walk you through fundamental strokes that form the foundation of all calligraphy letters. Practice these strokes with my free workbook on brush lettering to gain control over your writing and create consistent lines.
Chapter 4: Writing Your First Letters
Now it’s time to put your knowledge into practice! We’ll guide you through step-by-step tutorials for writing your first calligraphy letters. Starting with the simple lowercase alphabets OR you can practice alongside me by using a pencil to start.
Chapter 5: Forming Words and Sentences
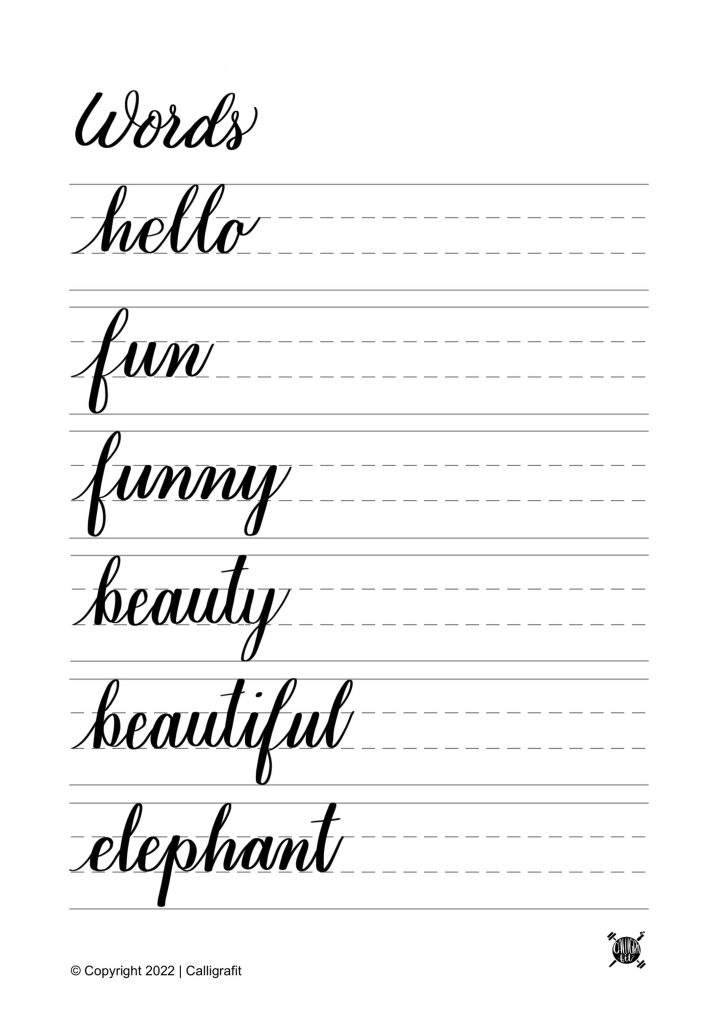
Learn to connect individual letters and form words and sentences. Once you have a solid grasp of the alphabet, begin linking them to create words. Use my free workbook sheet as your foundational guide for this chapter.


Chapter 6: Adding Flourishes and Embellishments
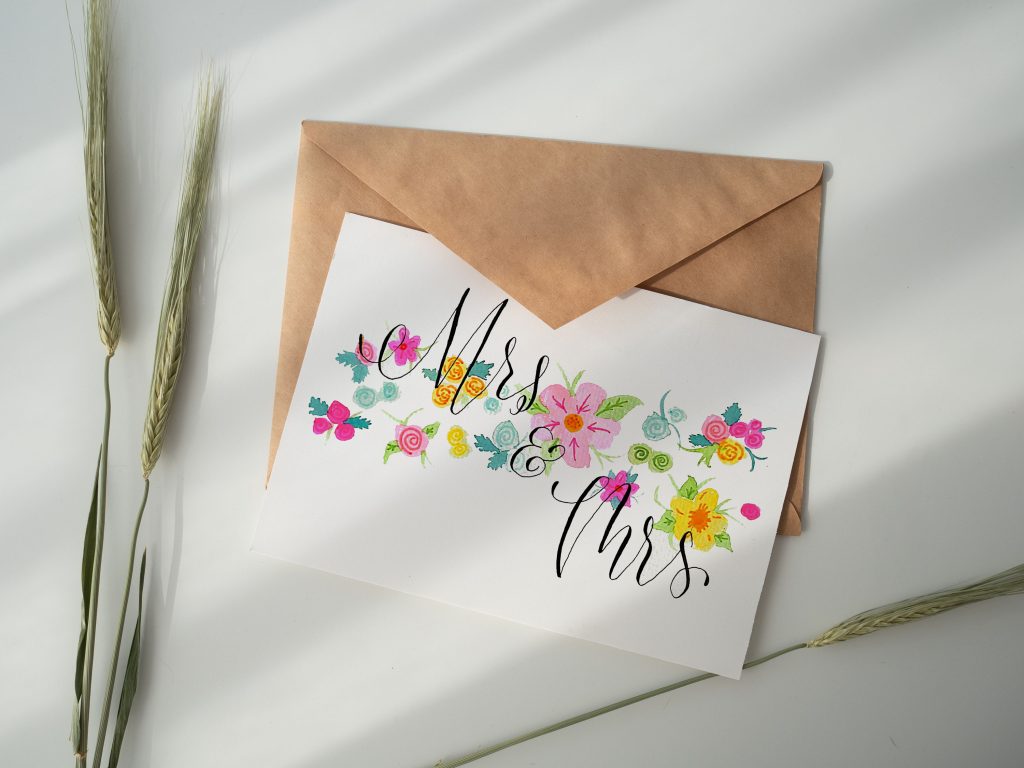
Elevate your calligraphy by adding flourishes, swirls, and decorative elements to your letters. Experiment with a pencil to see what looks best and is balanced. You can try white ink pen for highlights or enhance your work by adding delicate gray shadows or even watercolor illustrations.

Chapter 7: Troubleshooting and Common Mistakes
Experienced calligraphers face challenges too. By getting to know common mistakes like pressing down too hard on the pen and encountering struggles in maintaining pen control, you can successfully maneuver through these challenges and elevate your proficiency. We address common mistakes and offer solutions to help you overcome obstacles and refine your skills.
Chapter 8: Practicing Mindfulness Through Calligraphy
Calligraphy isn’t just about creating beautiful letters; it can also serve as a form of mindfulness and relaxation. Embrace the learning journey and allocate just 10-15 minutes daily for practice.
Chapter 9: Showcasing Your Work
Once you’ve honed your calligraphy skills, you might want to share your creations with the world. This provides guidance on digitizing your work, creating a portfolio, and even exploring opportunities for commissioned projects. By sharing your work, you’ll progressively learn and uncover new possibilities. Over time, you’ll witness your growth and improvement.
Your Calligraphy Journey
Master the art of calligraphy with step-by-step tutorials for lettering basics. Learn various styles, essential tools, strokes, and techniques to create beautiful letters. Start your calligraphy journey and discover the joy of self-expression through this comprehensive guide.
